
White Sandwich Bread
Makes 4 9” standard sized loaves
Homemade sandwich bread is one of those treats that forever changed the way I enjoyed bread and home cooking. Fun to make, enormously rewarding to eat, and deliciously aromatic when in the oven, its become an all-year staple in our household.
Thankfully, good bread isn’t too complicated to make, although it does require time. Don’t let the multiple steps scare you away. You’ll find bread-making can fit into any schedule and with practice, the steps will become second nature.
Tips and Tricks
Something I always hear is how no one has time to bake bread anymore. Not true! Some recipes or bread bakers may have strict time rules about rising times that make doing bread seem impossible. This recipe is a little looser on the rules.
For your ‘poolish’ or starter, you can leave out for as long as you need until you start to see small bubbles appear. If I’m doing this recipe during the day and I’m short on time, I might wait only 5 hours. If I have a lot to do, or am leaving it overnight, you can go almost 10 to 12 hours before using it.
Bread rising can be a bit tricky at first. Generally, you want a warm, draft-less space in which to let the dough do its thing. In the winter, this often means I’ll put it in the oven (not on!) and keep the oven light on for a little extra heat.
If nothing you do makes the dough rise, it’s best to start over rather than bake with a dough that won’t work well in the oven.
This recipe makes four nicely sized loaves. Chances are you won’t be eating that much bread before one of them starts to go bad. I suggest keeping one out to enjoy and placing the rest in the freezer in freezer bags until you’re ready to use them. Don’t place them in the fridge, as this will cause the bread to go stale even faster.
White Sandwich Bread
Makes 4 loaves
Ingredients:
8 cups white bread flour (or all-purpose, or a blend of these)
1 package active dry yeast (2 1/4 tsp)
2 cups warm water
2 cups whole milk
1/4 cup granulated sugar
2 tbsp vegetable oil
4 tsp kosher salt
olive oil
Directions:
Our first step, and the longest step in this process, is to set up what we call a ‘poolish’ or starter. Take two cups of warm water (but not hot or boiling) and put in a large bowl. Add the yeast. Wait a few minutes to make sure the yeast is activated.

Fleischman’s Active Dry Yeast is my go-to yeast for bread-baking. If you can’t find it, you can always use All Star. This is essentially your leavening agent: what makes a bread rise. The yeast is what eats the sugars in your flour, producing carbon dioxide.

Yeast beginning to activate.
Once the yeast is activated, begin adding 4 cups of white bread flour (or all-purpose flour) one at a time. Stir until a rough dough comes together, but don’t overmix. It is okay if the dough looks shaggy like in the picture below. Once its come together enough, you can use plastic wrap or a damp hand towel to cover the dough. Let this rest for several hours in order for the gluten to activate (at least 6-8 hours, or you can leave it overnight).

Your shaggy dough.
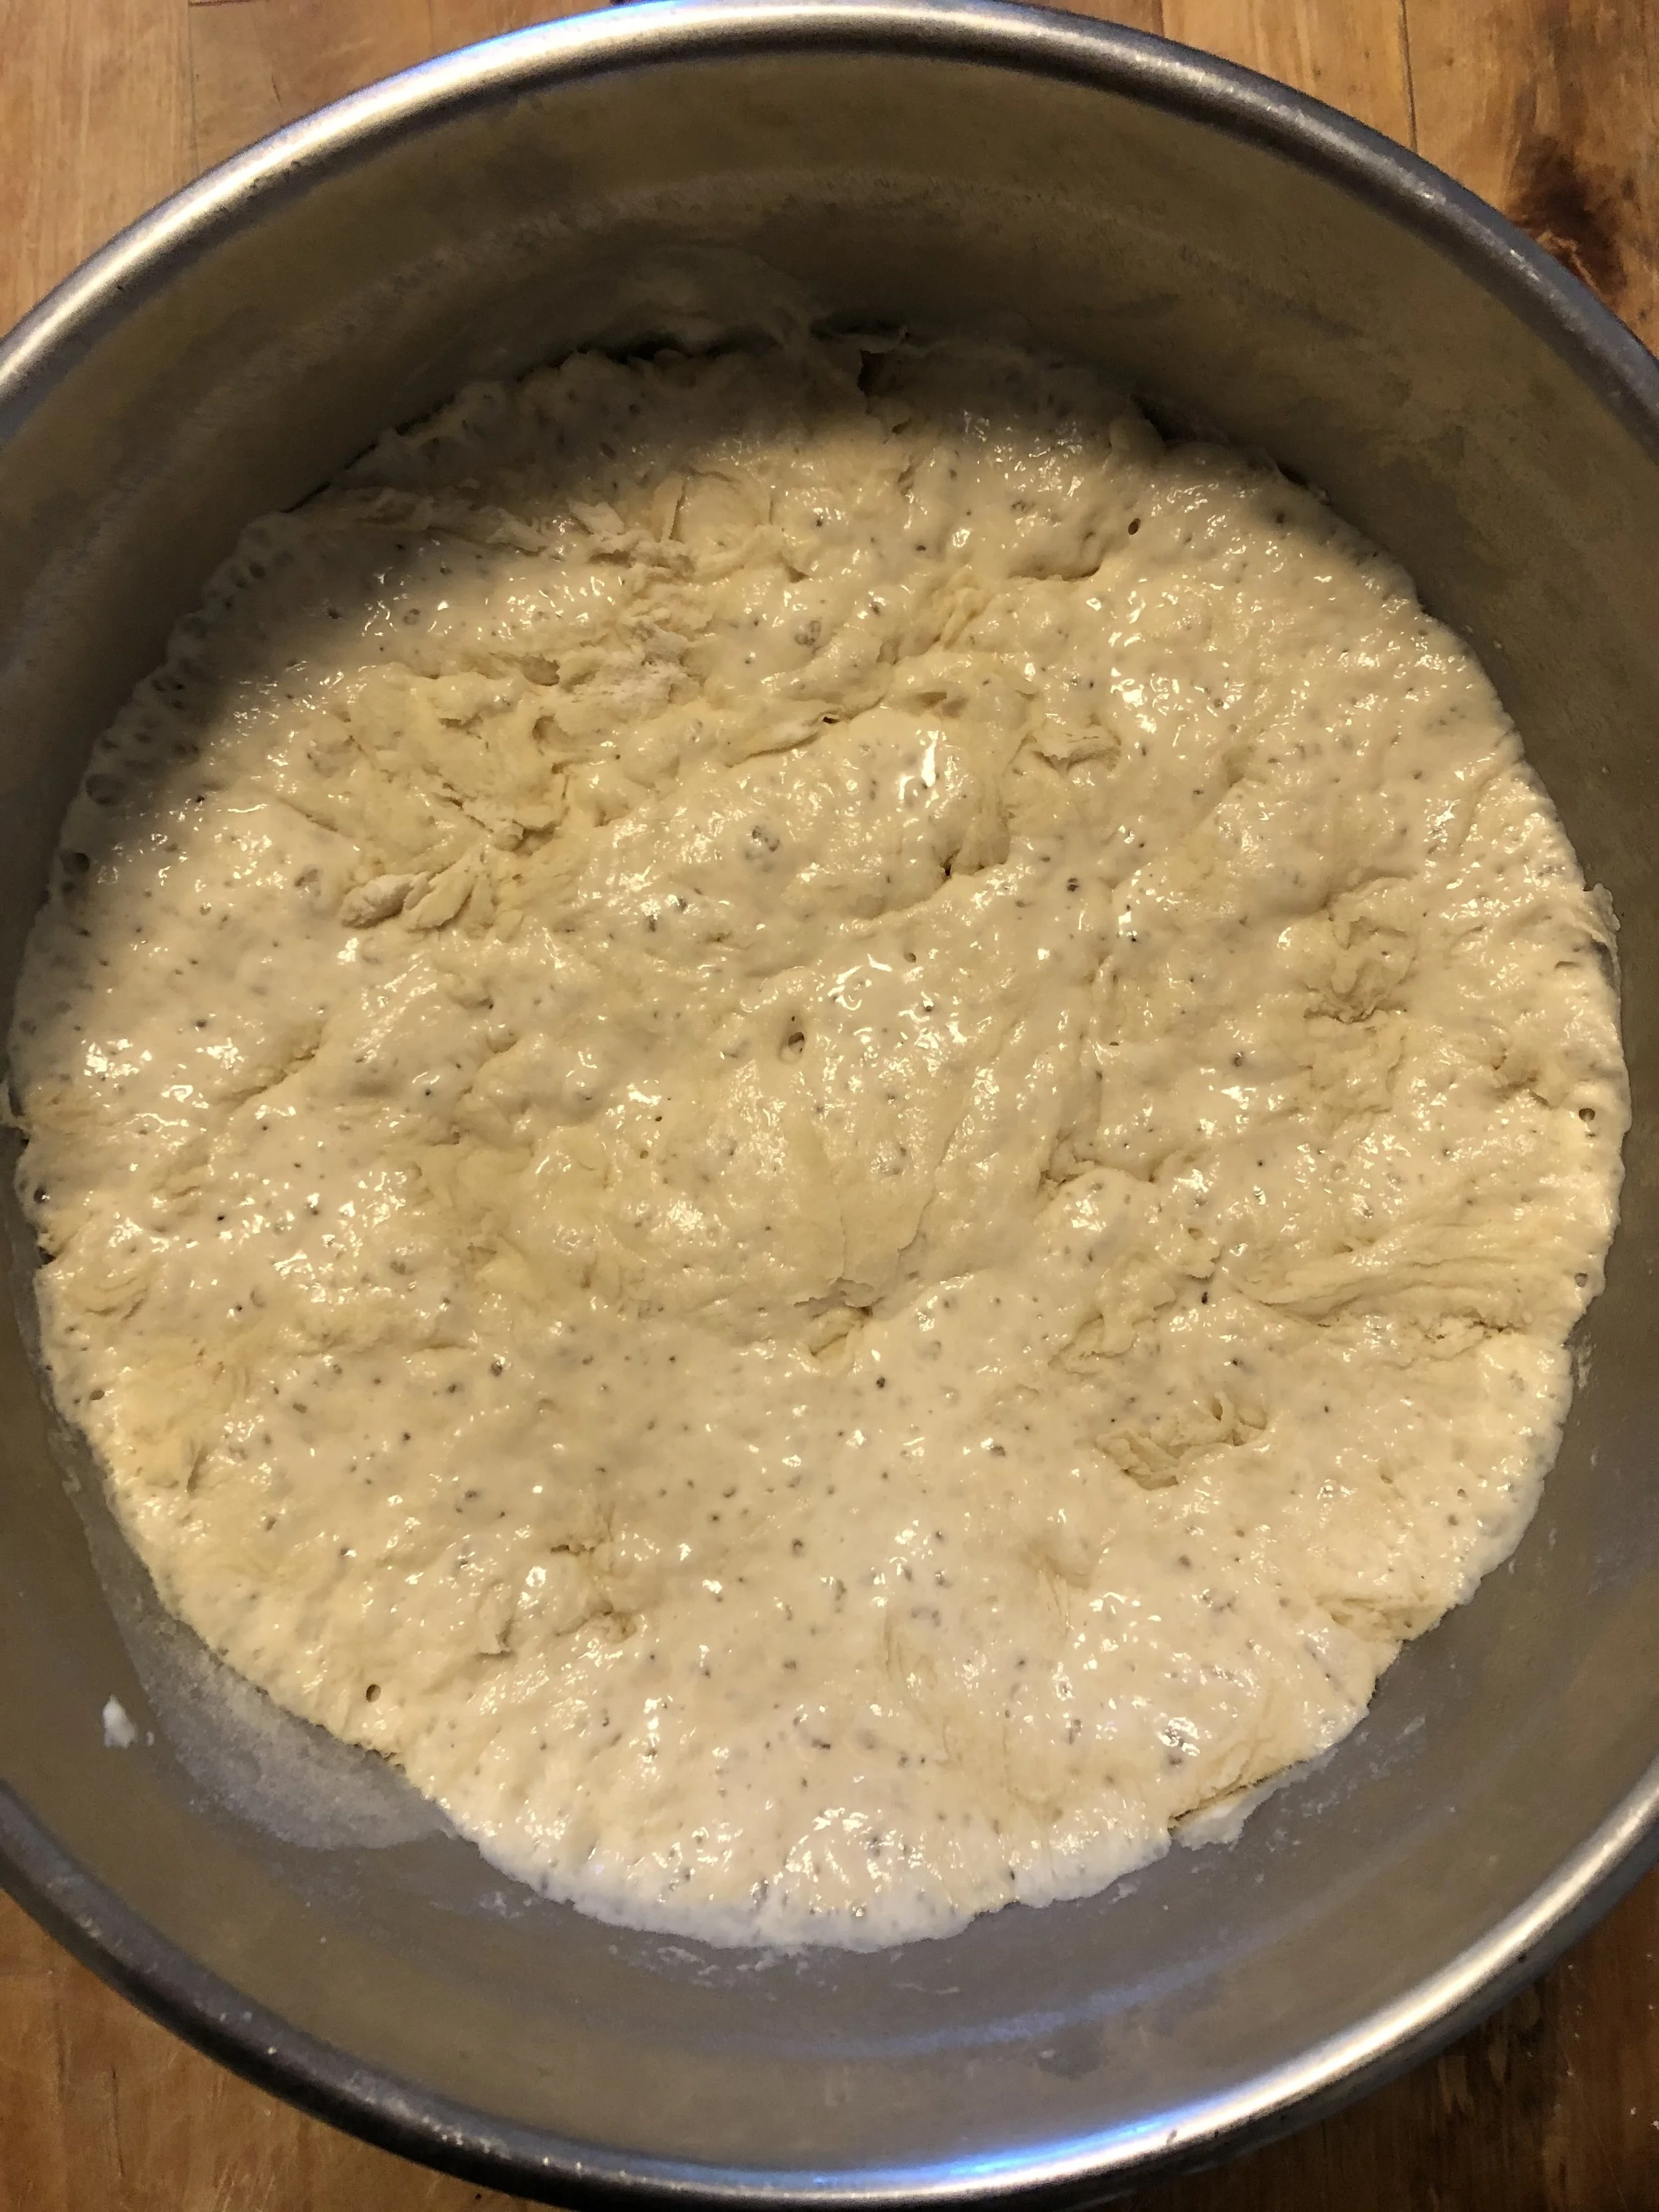
Starter that has risen overnight.
Once your starter is ready, heat 2 cups of milk in a saucepan over medium heat. Heat just until you see small bubbles coming to the surface, then take off heat. Add your sugar, salt, and vegetable oil and let sit until lukewarm (approximately 15 minutes). (**If you’re in a hurry, put this in the refrigerator to cool faster).
Add this to your starter. Then cup by cup, add four additional cups of flour. Your dough will be quite thick and difficult to stir the more flour you add. You may need to adjust the amount depending on how your dough is cooperating.
Once you have a solid dough, start kneading on a floured surface. It will take some time before the dough becomes smooth and elastic. Make sure to keep flouring your hands and board as you go to prevent stickiness. After roughly five minutes or so (possibly longer), you’ll notice the dough becoming more smooth and malleable. Keep kneading until the dough is completely soft and elastic.
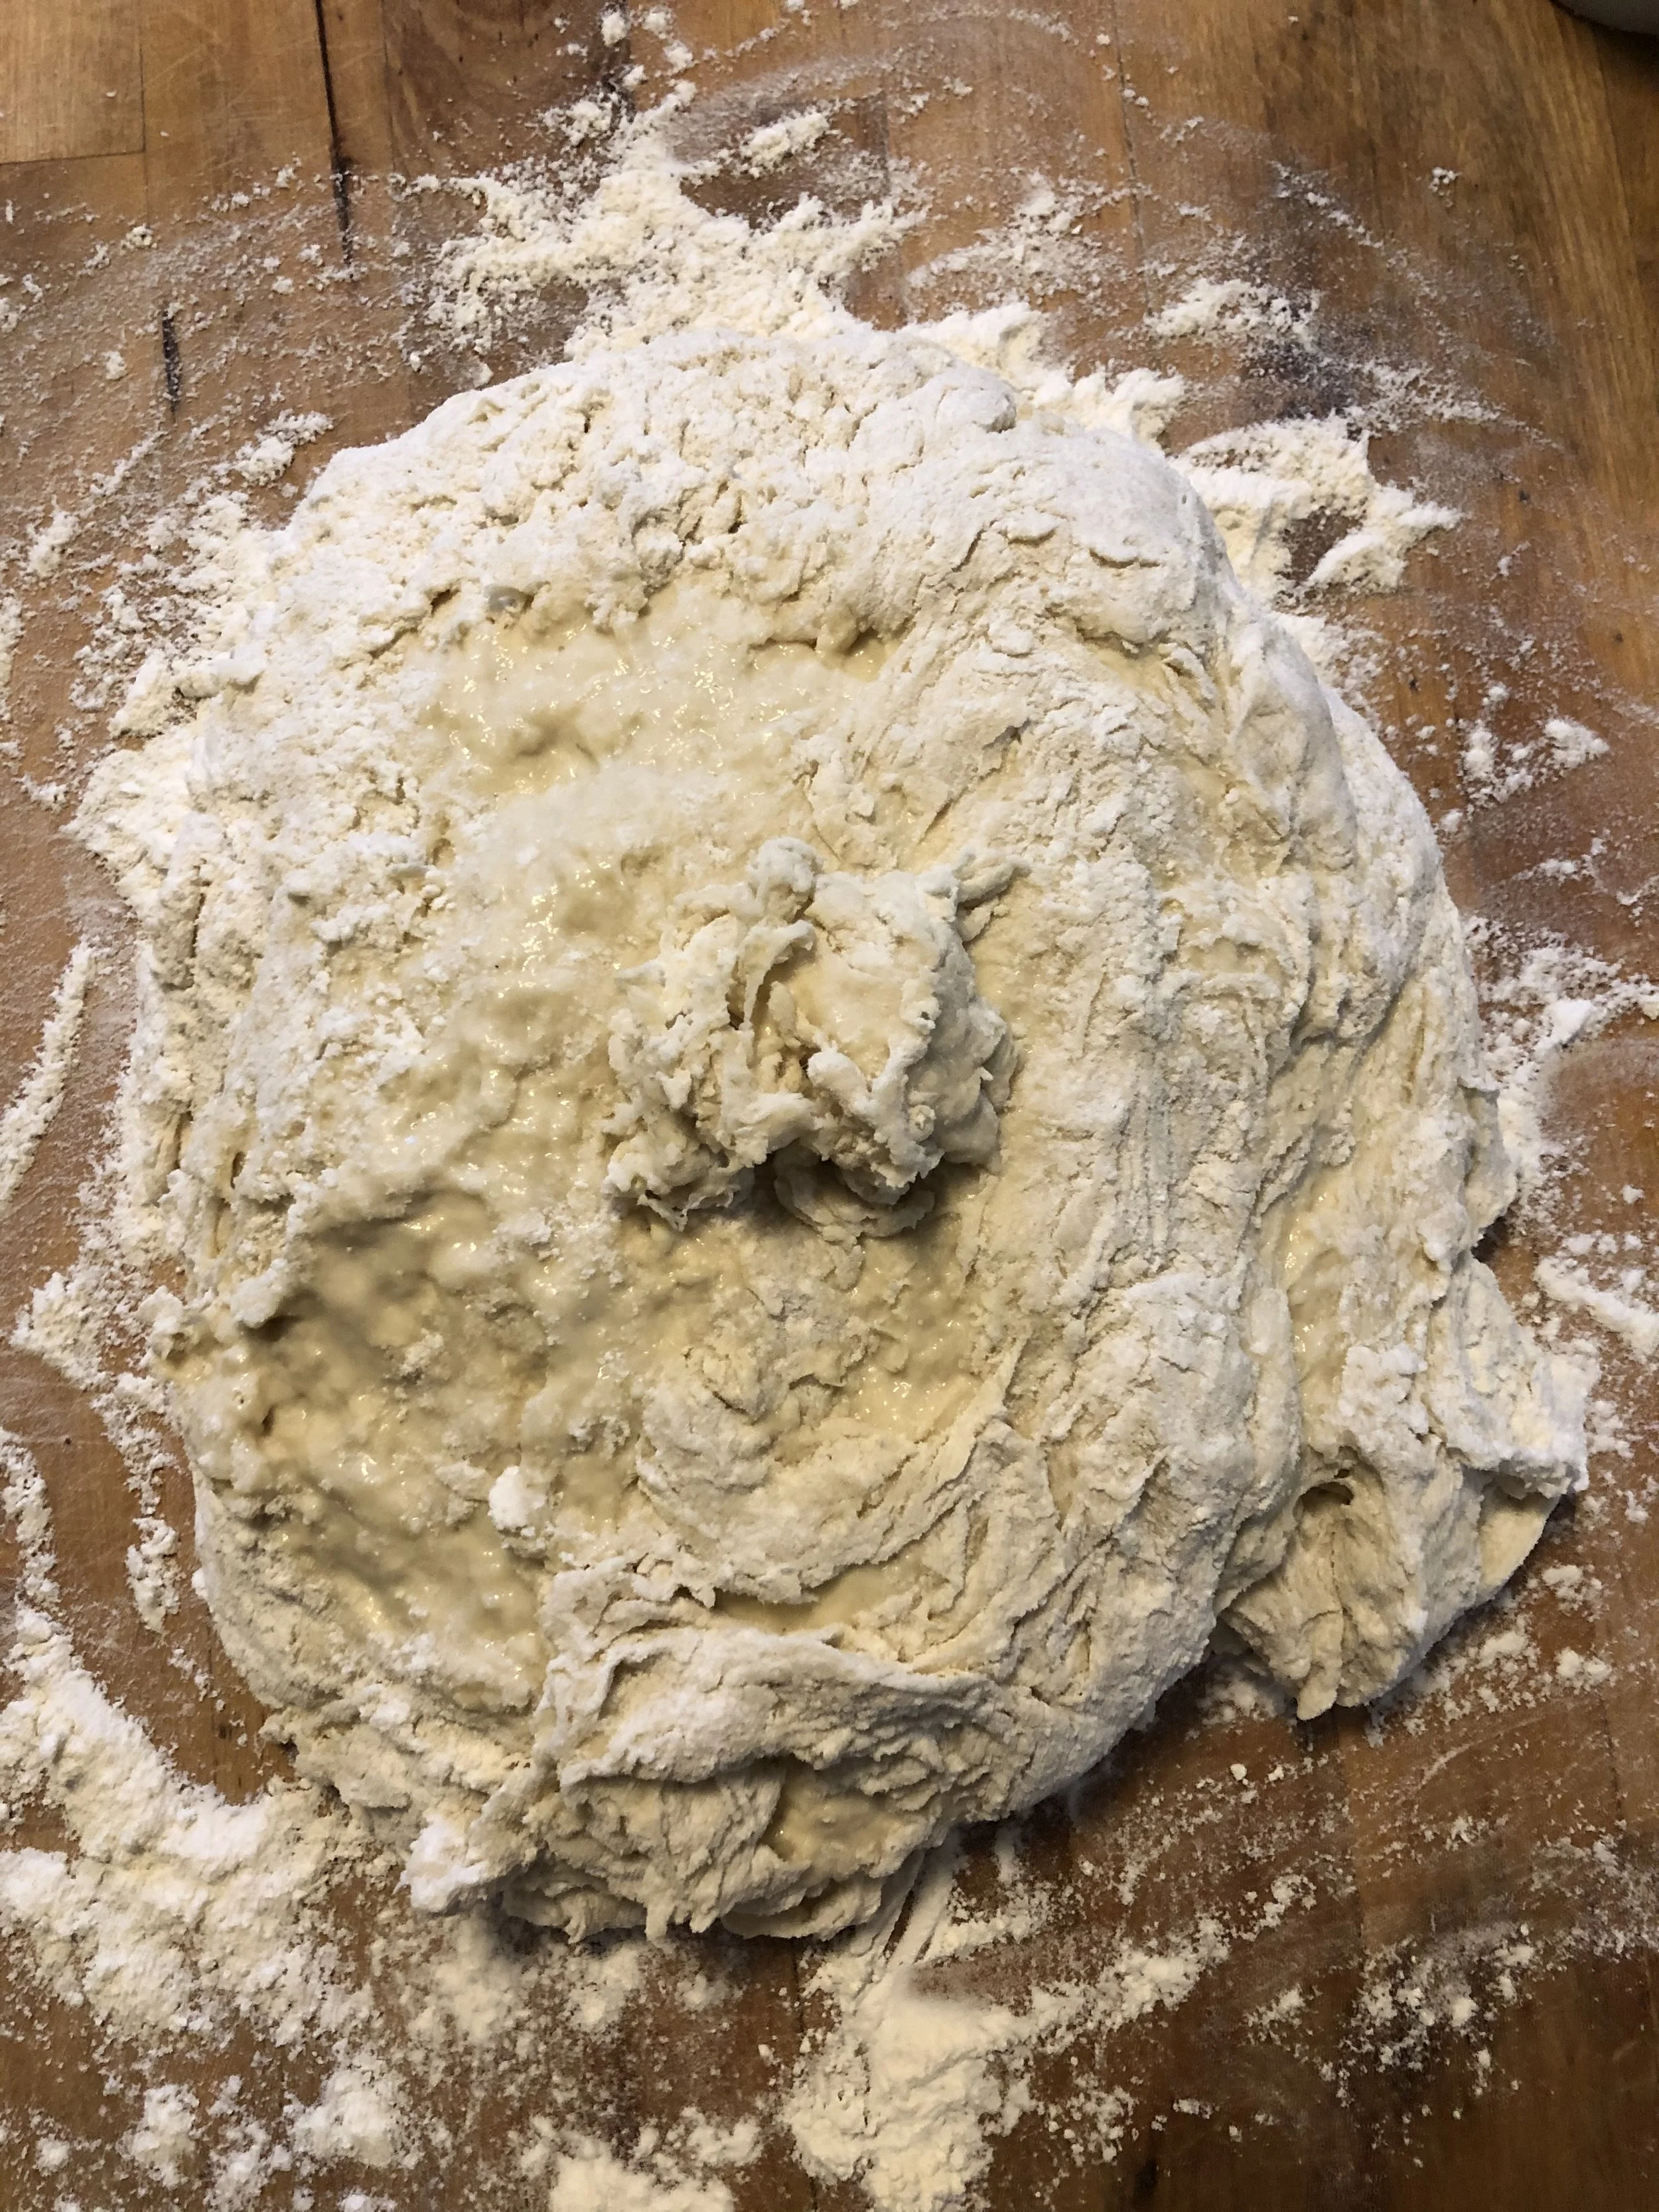
Dough before kneading.

Dough after kneading.
Once the dough is smooth and elastic enough to your liking, take another bowl and coat it in a bit of olive oil. Stick the dough in the bowl, cover with a damp cloth, and let rise until doubled (roughly 1-2 hours, depending on the temperature of your kitchen).

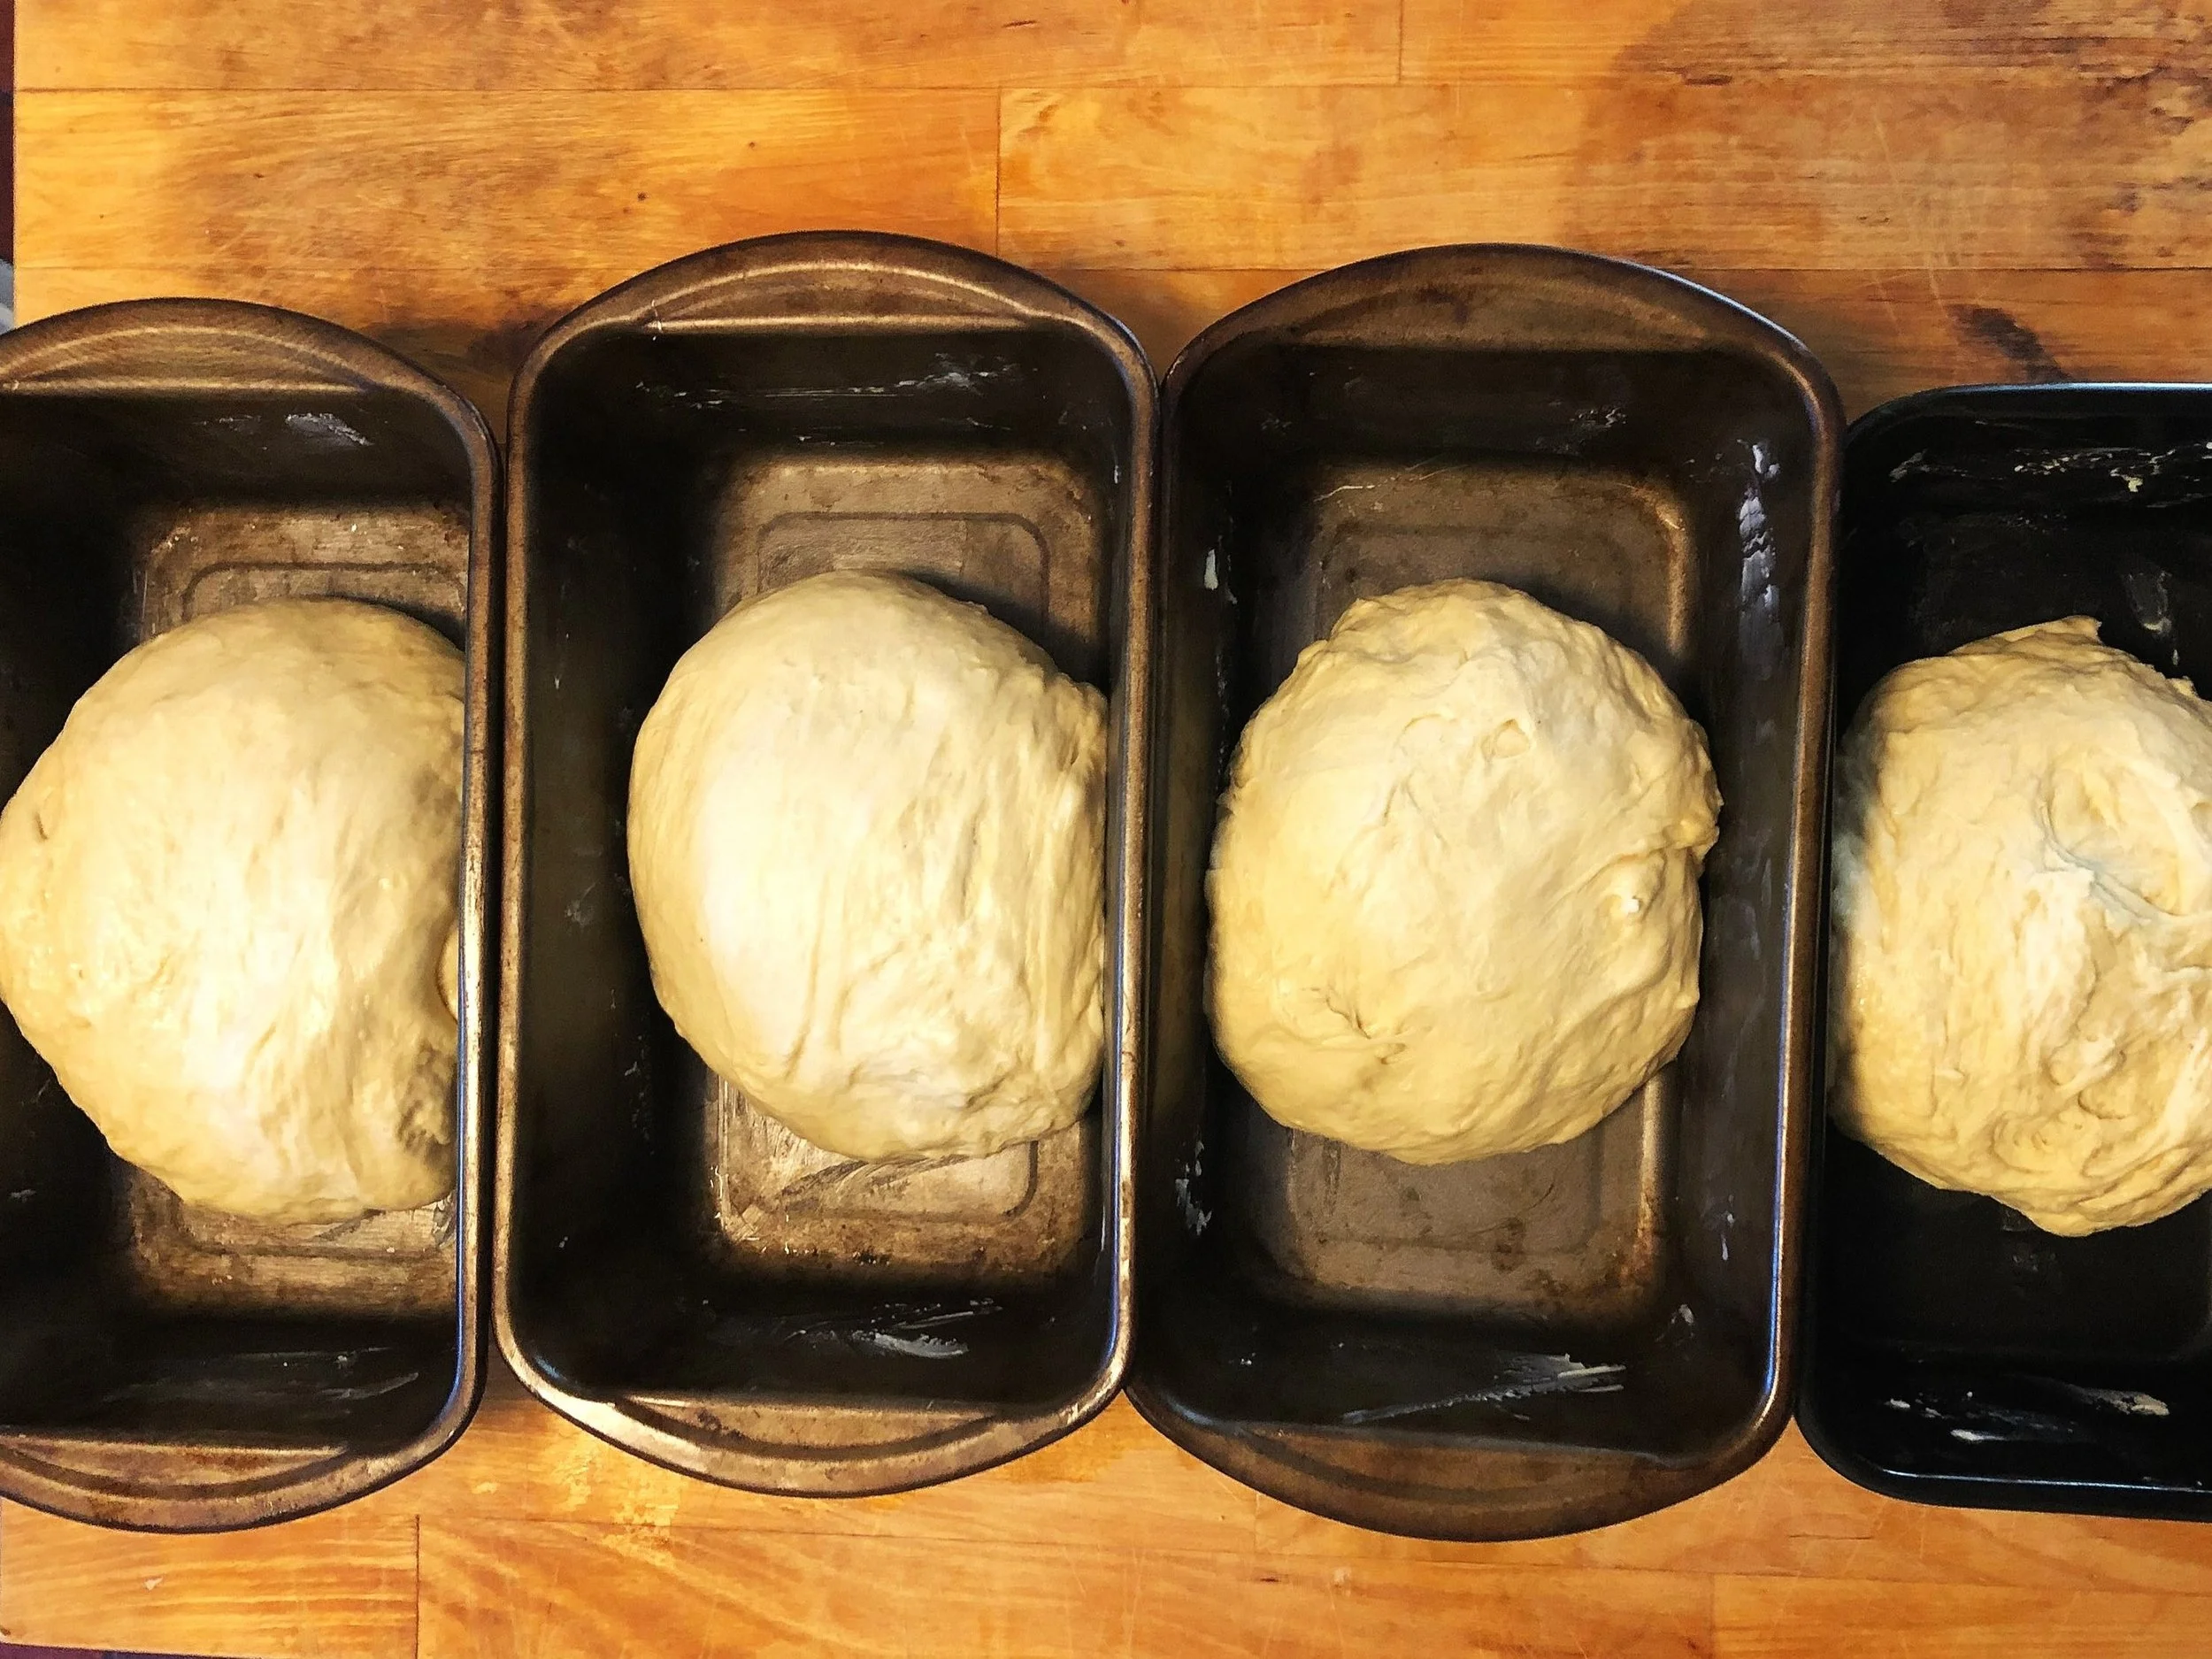
Once the dough is doubled in size, punch it down, and take out of the bowl. Divide the dough into four equal sizes. Let the dough rest a little while you grease your bread pans. (You don't have to use bread pans, although it will help shape the dough into the perfect 'sandwich-sized' loaf. You can shape your bread into mounds and bake on a greased or lined pan). Put one piece of dough into each bread pan, cover once more, and let rise until doubled in size, or until it's filled in enough of the bread pan to make a decent-sized loaf.

About 15 to 30 minutes before baking, preheat your oven to 415 degrees. Bake for 15 minutes, then reduce the temperature to 375 and bake for approximately 40 minutes, or until the loaves are a nice golden brown and sound hollow when you tap them. (** My suggestion is to watch the oven at least 10 minutes before baking time is over to keep an eye on them. Every oven is different, so never assume the baking time is 100% correct. You will know best when they’re ready.)
Once they’re done baking, take out of the pans, and let cool before slicing. Enjoy!